How to Make Better Videos for Your Blogs?

With the Google Algorithms and traffic statistics changing and evolving over the past few years, the need for quality content has significantly increased. Anyone can come up with the idea of making a blog but to make it a high-performing authority blog, you need to make better videos for your blogs too. There are several ways, to begin with, if you are aiming to get more traffic on your blog with videos. But if you love online gambling, read this post first to know more about live casino streaming.
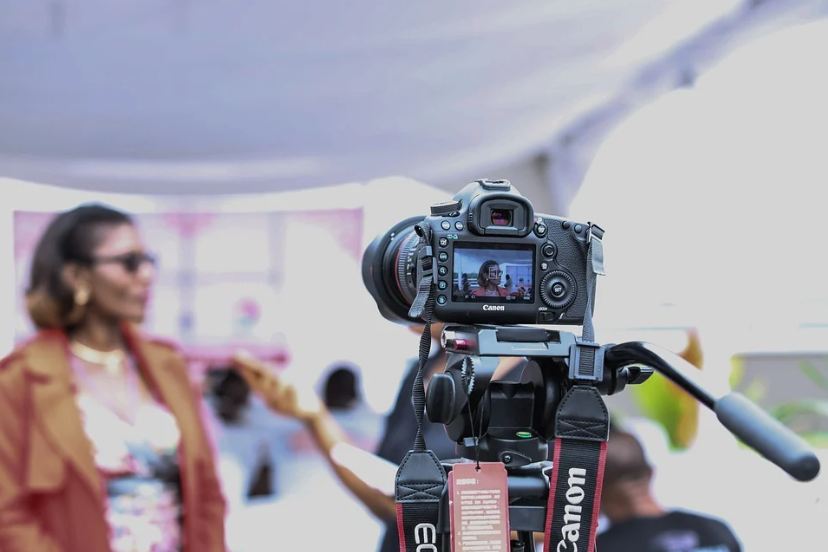
Invest in a Good Camera and Mic
With the recent innovations in technology, video quality has gotten better and better. There is so much video content out there that provides solid competition for your blog. This means if your video quality is lacking, your viewership will automatically go down. People expect clean videos, and if you don’t give it to them, they’ll go and watch someone else in the vast sea of visual media available. If you want to make better videos for your blog, ensure your footage is clear and sharp.
Your audio needs to be free of noise pollution too. Buzzing or other distracting sounds are common in cheap mics. Use a good quality, buffering mic for clear audio.

Choose a Good Angle and Backdrop
While you can sit down and make a video pretty much anywhere, we recommend you refrain from this. You don't have to plan something elaborate, but a clean, and the aesthetically pleasing backdrop is a basic requirement. However, if you're not sure about what backdrop to choose, go for light, solid colors. Bold colors are distracting and will take away from the focus of the video, which is you. Prints are a good choice, however, only when they are light.
Too many, too bold prints will look tacky and overcrowded. To take it a step further, you can put in a few pictures, paintings, and figures behind, maybe a few books too. Nonetheless, all of this has to match the feel of your blog.
Next comes the angle. The camera should be directly in front of your face. However, you can move it a little up or a little down depending on the angle you believe suits you. Regardless, you should be able to make clear eye contact with the camera, and your facial expressions should be visible.
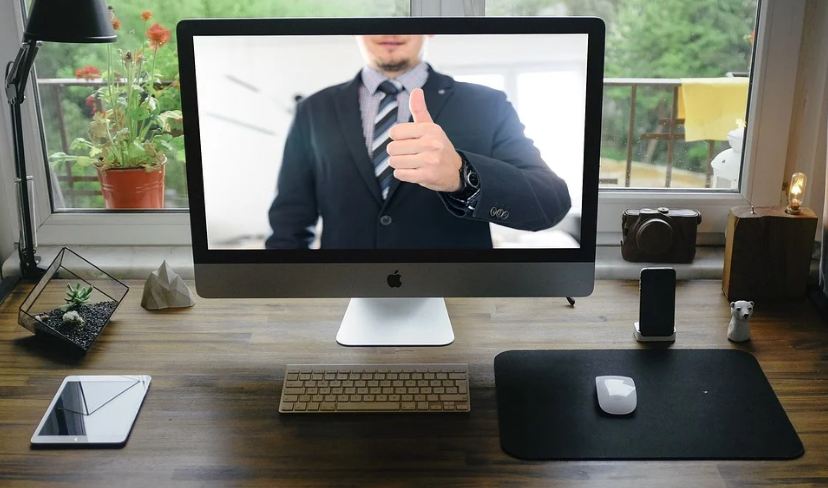
Position Yourself Right
It isn’t a very good choice to sit too close to the camera. Body language is important to inspire trust in a viewer, and to be able to convey a point effectively. In contrast, sitting too far from the camera may cause your viewer to feel detached. Additionally, the farther from the camera you sit, the more background you will have to show, and the larger area you will have to prepare.
We recommend you sit at a distance where your shoulders and your arms down to your elbows are visible. This distance will make sure your face and expressions are visible too.
Never sit where your legs are visible because you will look odd and out of place. Keep something like a table in front, or sit so close your legs aren't visible in the frame. This creates more focus.
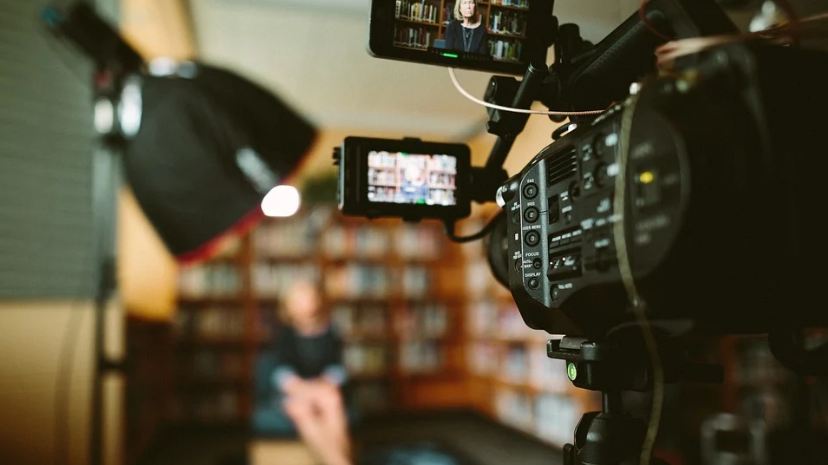
Choose the Right Lighting
Finally, never sit in a spot where the sun or another source of light is shining directly on your face. This will create harsh shadows, and you don't want to be recorded squinting at the camera. Don't keep a light source behind you either, because your face won't be visible. Keep a light source in front of you, but slightly elevated.
This is basic, however, if you intend to shoot a lot of videos for your blog, it might be best to invest in a little more professional lighting. You need three types of lights, the key light, the backlight, and the fill light.
The key light is placed on the left side of your camera. Its height should be three feet above eye level. Angle it downward so the light falls over you, smoothing out the angles of your face. Fill light is used to balance out any harsh shadows created by the key light and is on the right side of the camera. Finally, the only purpose of the backlight is to make the lighting appear natural.

Make A Script
No matter how proficient you or anyone else is in the topic they've chosen for their video, a script is a necessity. You don't need to know what to say, the trick is to know how to say it. We recommend you write down the entire script, verbatim, and then practice, if not memorize it. Knowing exactly what you need to say next will make you feel more confident. Scripts are also where you decide what you want to include in the final video, be it pop-ups, extra details in editing, or animation. We will discuss this further below. It is always good to use the explainer video style sometimes.
Shoot Your Video in Scenes
There are two options a presenter has when filming a video. Either to record a full-length video of himself or do small individual scenes. In a full-length video, you would have to cut the video in parts later, so you can make changes or additions to one part. In scenes, you can simply join all the scenes like you want to, with all the extra post-production details in, and make one final video. This will allow you to remove all the parts you’re not happy with, and you can also shoot multiple videos of every scene and keep the one you like the best.
Add Animations
Video content is the most interactive content on the market, and this is why it attracts a lot of views. Animation allows you to utilize this interaction to its full potential to get your blog the viewership it needs. Animations are an interesting way to convey information, in simple terms that appeal greatly to the normal man. Whether it's cartoons, or simple shapes and figures, even basic animation can make a world of difference when making a video for your blog.

Add Subtitles
Subtitles are the gold mine of video content viewership, and for most people are the definition of a good video. When you add subtitles to your videos, you include the people that are not native speakers of your language into your viewer pool too. People that have trouble understanding the words you speak, either because they don’t speak the language at all, or because they do speak the language but cannot follow through with the complexity of your speech, can use the subtitles. This brings you out to a greater audience.
Conclusion
We can conclude that making videos for your blog isn't a difficult task. However, making a high-quality lead-generating video may be slightly time-consuming. Nonetheless, it surely gives you the reward when it brings your blog to higher search results and improves the traffic statistics as well. By following the above tips, you can become a great videographer which will help you have Google rank your blog better.


