How to Take Better Photos for Your Blog

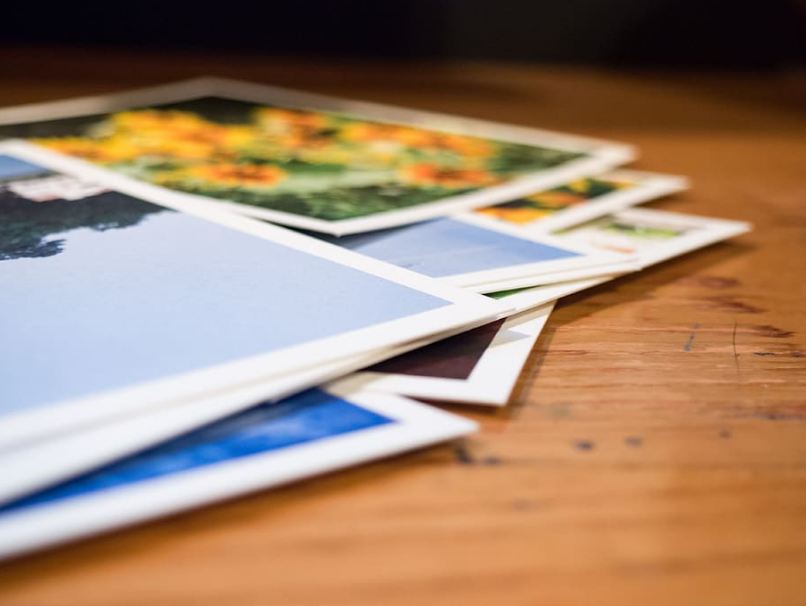
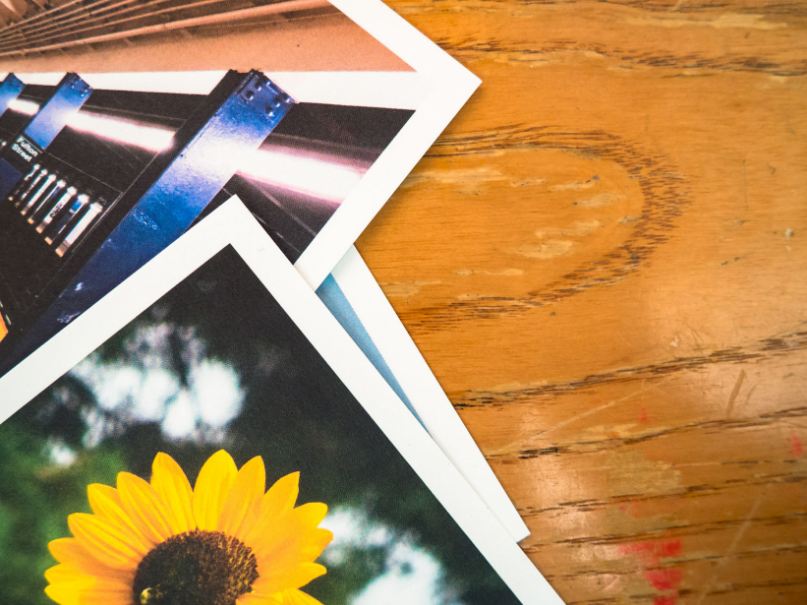
If you're an aspiring blogger, you must understand that blogging isn't just about written content. Yes, it's essential, but your audience might get tired of just text posts, so it's a great idea to include images. In addition, adding photos to your blog will improve your content's readability and search engine optimization (SEO).
Many of us may get away with only using stock images for our blog content, but your visual content can be as important as the written for some blogs like food, fashion, or travel blogs. So here are some photography tips that can help you get better shots for your blog.
Use Natural Lighting
When taking photos for your blog, natural lighting is usually the best lighting to use. Try taking your shots outside in the daytime when possible. And when you're taking indoor photos, try opening the curtains to let the sun inside.
The more photographs you take, the more you'll get a feel for the lighting. For your outdoors shots, the lighting usually is best as the sun is rising or when it's setting. Natural lighting is there during those times, but the sun won't be directly overhead and will wash out the photos. If you end up taking photographs when the sun is beaming, try getting some shade in your shot.
Obviously, you don't need flash for pictures during the daytime, and it's best to locate other light sources for night shots. In addition, flash usually leads to low-quality images.
The white background photo
Placing all the essential elements on a white-background photo, also known as a "flat lay," adds aesthetic to your blog. To do it, you should first get a piece of white foam core and place it near the window (be sure not to put it in direct sunlight). Then keep your camera right over the stuff you want to shoot. You can also adjust your position to eliminate the shadows.
Be sure to shoot plenty of pictures. Remove or add photos, turn your camera in different angles, or shoot closer or further away. You want to give yourself many options to work with when creating graphics.
Give Your Pictures Life

Pictures that look staged don't resonate with the audience and don't feel genuine. Minor elements of life might be the missing link that evokes emotions when looking at the photos.
Sometimes it's easy to bring more life to your pictures. For example, if you're doing a street scene, you can time your shot to capture people talking, laughing, going about their day, or walking. For other shots, you have to get creative. For example, maybe rather than taking your friend's picture while they're sitting at a café table smiling, you shoot them as they drink coffee. This is stuff you can stage, but it looks more natural.
Make Use of Negative Space
Negative space is an excellent way of placing more emphasis on your photo's subject. Your image may seem cluttered without adequate negative space, leaving your audience unsure of what you want them to look at.
In photography, the space that surrounds your subject is called negative space. To get better at using it, you'll have to consider the whole scene when taking a photo instead of centering solely on the subject. Like lighting, you'll get better at using negative space with practice, but you need to know how to utilize it to your advantage.
Shoot from Different Angles
Try standing on a chair to shoot your subject from above or crouching down to get under it. Take close-up photos and wide photos. You don't need to cover everything in your photograph— there are times when cutting off somebody's head helps put focus on their feet or hands. Also, take pictures from every angle. An image may look nice on your mobile phone but have to be cropped to look much better on your site. If you're presented with plenty of options, you're bound to have a winner.
Edit
Usually, the difference between a good and an excellent photo is the editing. Just simple editing can correct minor issues and enhance an image's best elements. Sharpness, contrast, and lighting are all aspects you can alter during your editing.
Adobe Photoshop is still the best software for professional photo edits, but some more simplistic and affordable options are available, like PicMonkey. Whatever program you pick, you can spend some time becoming comfortable with learning how to use all its features.
While you're editing your pictures, be cautious and not over-edit them. It's easy to go nuts with your options, but too many minor modifications can make your image look unnatural.
You're not required to be a professional photographer to get nice shots for your blog. However, with the proper equipment, a basic knowledge of taking photos, and enough practice, you'll see the quality of your photographs improve exceptionally, and that will result in fantastic blog content.